Hugo 博客添加 Giscus 评论功能

目录
本文主要记录了如何引入 giscus 为博客添加评论功能。用户登陆Github账号后即可评论文章。
参考知乎 Hugo 的 LoveIt 主题添加 Giscus 评论:Giscus 是一个由 Github Discussions 驱动的评论系统,无需自己单独配置,直接白嫖 Github 的资源即可,而且 UI 和功能都十分地合适我,配合 LoveIt 的配置还可以做到十分美观。
1 配置 Github 仓库
进入 Github Pages 仓库,找到Settings -> General -> Features -> Discussions 勾选,为仓库启动 Discussions 功能
2 安装 Giscus
点击这里,我们将会看到下面的界面,我们点击
Install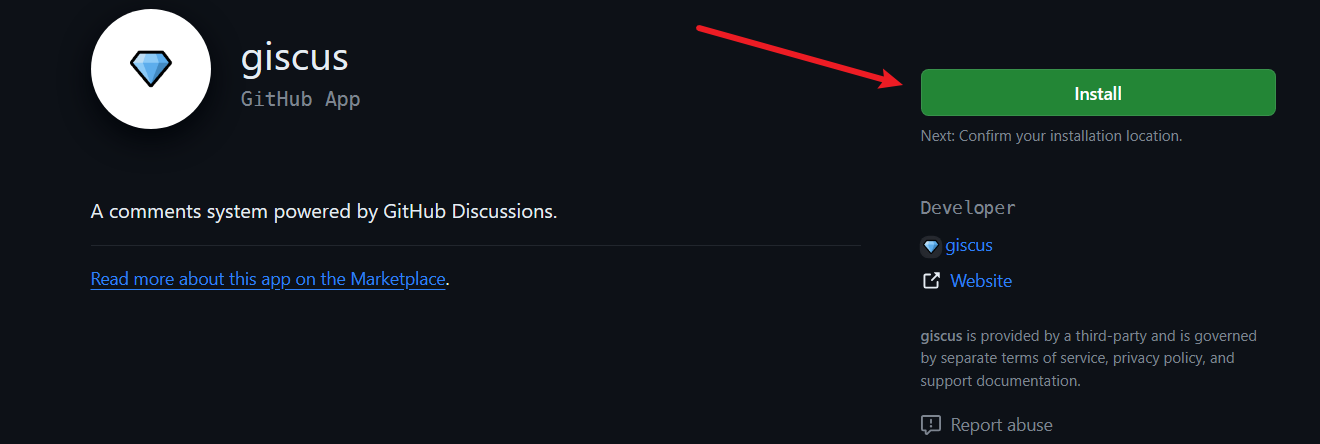
image.png 点击安装后,依次选择
Only select repositories——Select repositories——选择 Github Pages 仓库。点击Install安装。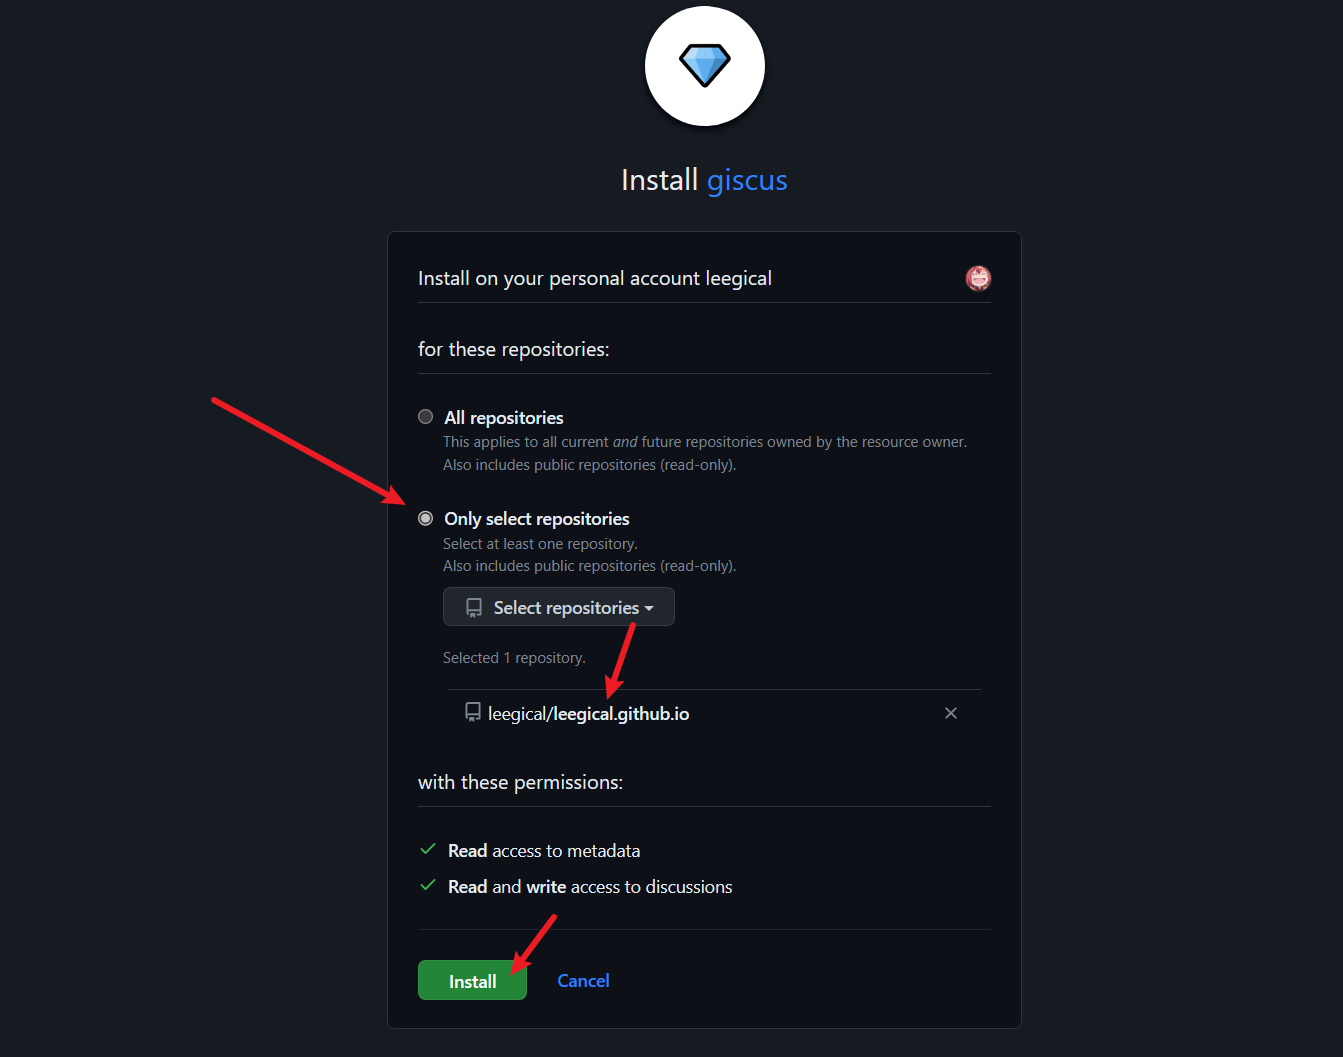
image.png


3 配置 Giscus
接下来,我们只需到 Giscus 官网获取配置信息,然后将配置信息填到 Hugo 的配置文件中即可。但是由于主题的不同,所以配置文件的填写也不同,这里以 LoveIt 为例。
3.1 来到 Giscus 官网
- 仓库:填写 Github Pages 仓库名
- 页面 ↔️ discussion 映射关系:Discussion 的标题包含页面的
pathname - Discussion 分类:Announcements
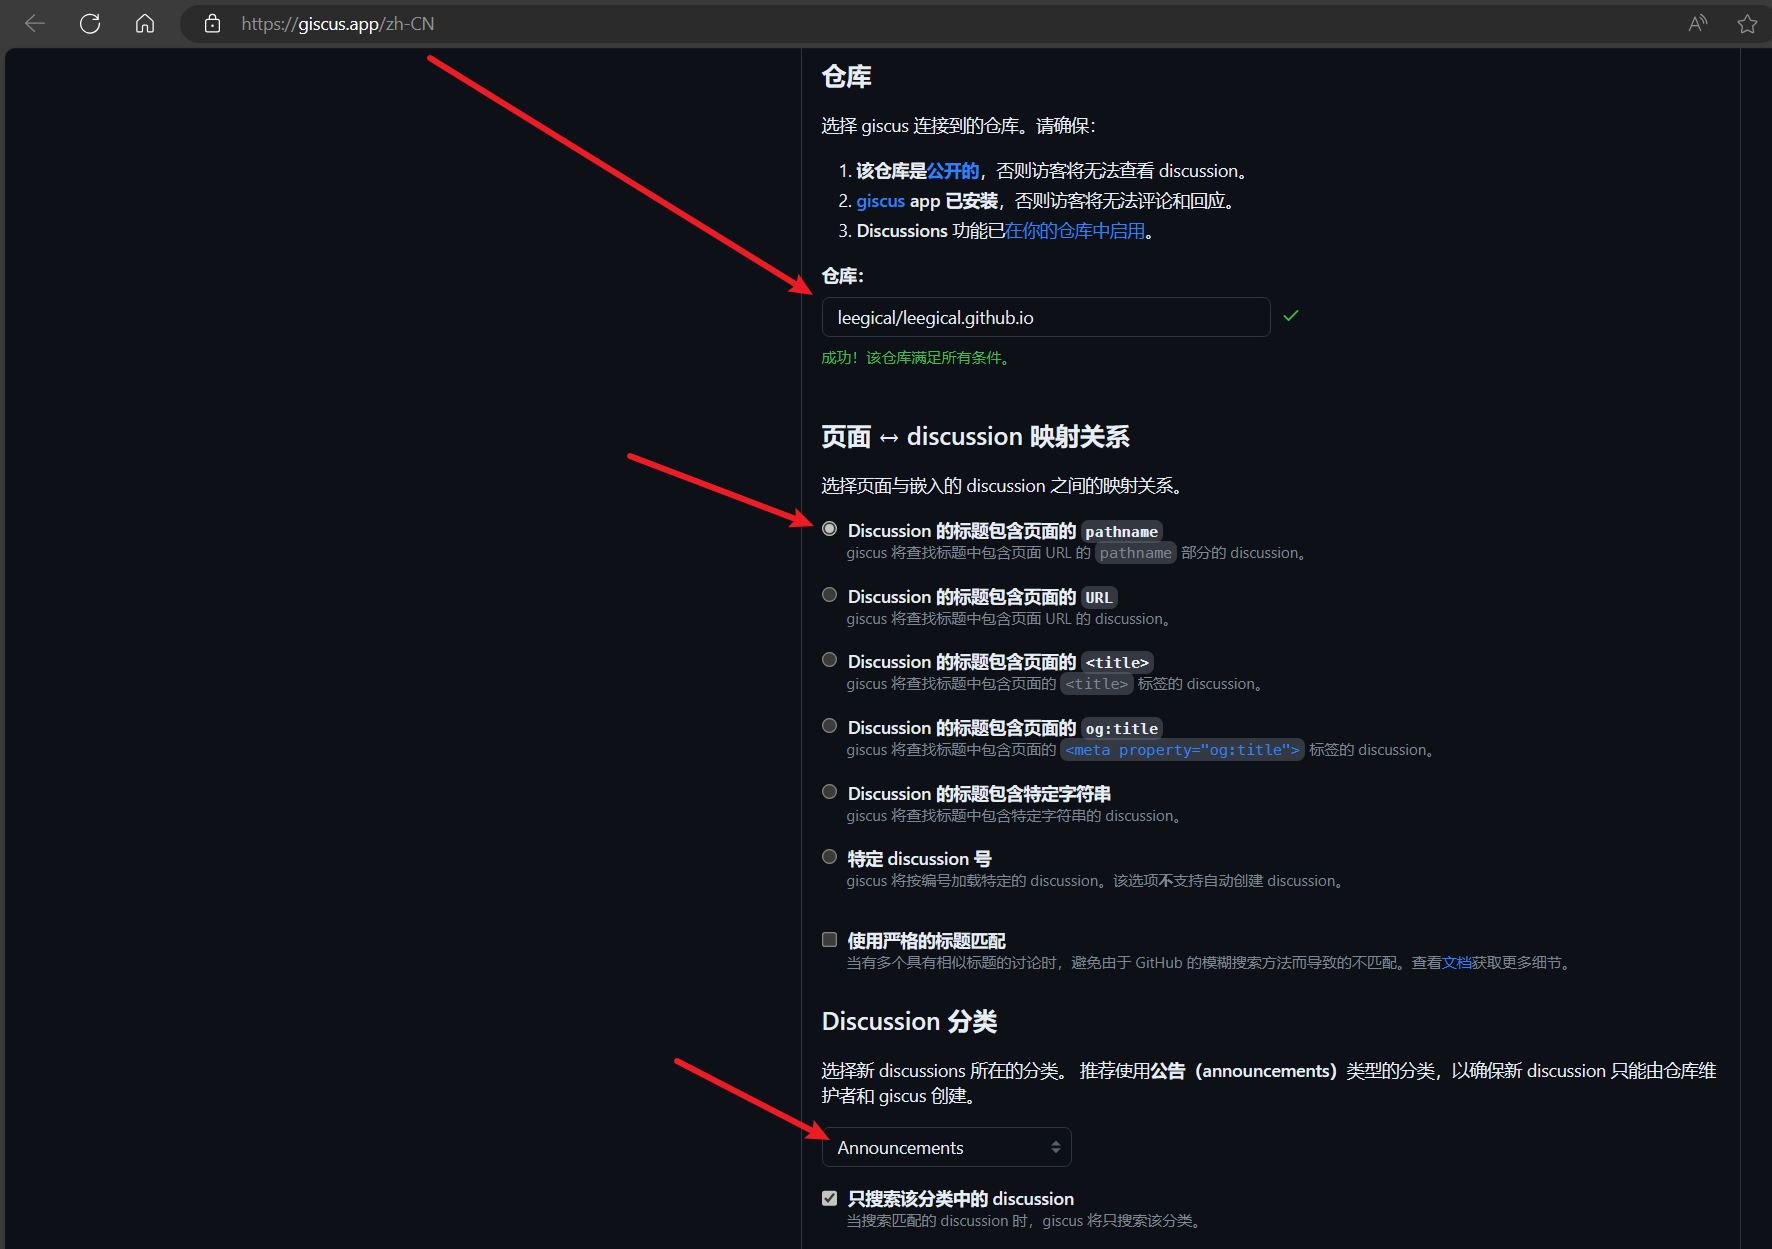
image.png - 其他选项默认。往下滑,找到配置文件。记下
data-repo,data-repo-id,data-category,data-category-id,data-mapping这几个值。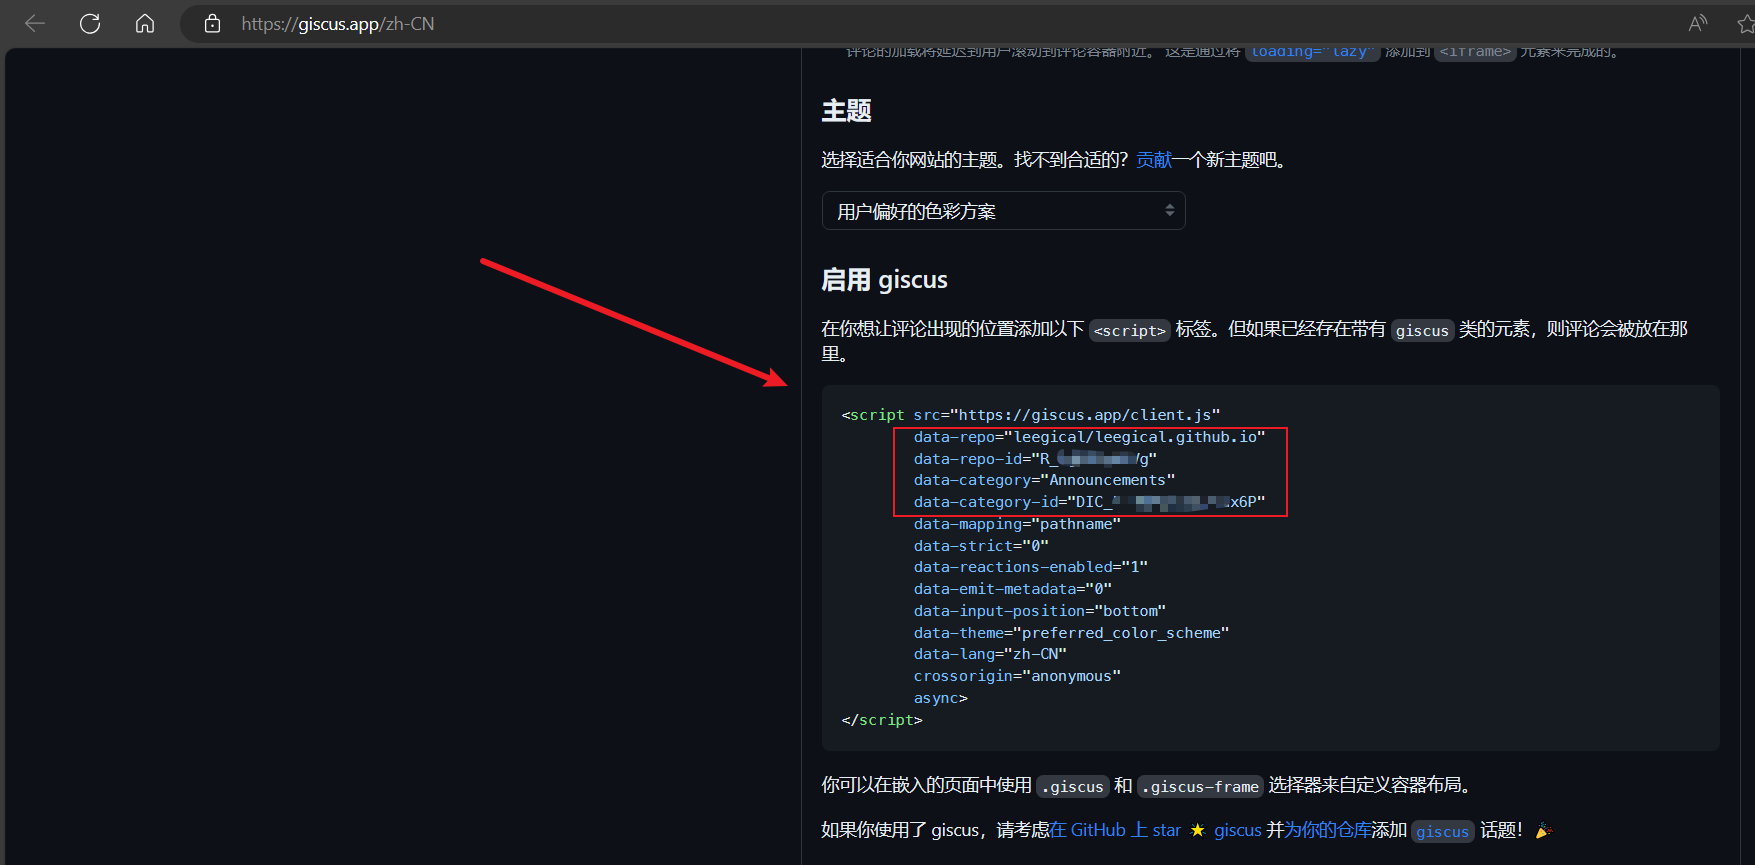
image.png


3.2 修改 Hugo 配置
使用 vscode 打开 blog 仓库的本地项目文件夹,修改hugo.toml。在[params]——[params.page]处添加评论功能:
| |

3.3 提交更改
| |
稍等片刻,Github Action 会自动更改。
用户登录 Github 后即可评论,效果图如下:
相关内容
- Windows下使用hugo和Github Pages配置博客
- Windows 下使用 Hugo 和 Cloudflare Pages 配置博客
- Github Pages 博客网站访问速度优化
- 通过 Cloudflare 和 jsDelivr 免费加速博客 GitHub 图床等静态资源
- 使用PicGo + GitHub 搭建 Obsidian 图床